Lunar Cycle Easy Demonstration of Lunar Cycle
Overview
Students learn about the phases of the moon by acting them out. In 30 minutes, they will act out one complete, 30-day, moon cycle.
Materials
Management
- Select a dark room for this activity and move desks and other objects out of the way so that students can move around the room freely.
- In preparation for this activity, discuss moon phases with students. It is very helpful if students can make their own moon observations for one month prior to and after this exercise.
Safety tips
- Remind students to be careful when using the pointed end of their pencil.
- Do not allow students to get close to the light source since it may heat up.
- Remind students with eye sensitivities to look away from the light source frequently.
Procedures
- Place the lamp in the middle of the room.
- Have each student poke a hole into their sphere with their pencil and hold the pencil, with sphere attached, in one hand. They should be holding what looks like a spherical lollipop.
- Explain to students that the bulb is the sun, each of their spheres is the moon and each student is Earth
- Rotate around the room for each of the phases described below. Remind students that what they are doing in 30 minutes takes the moon about 30 days to do: complete one full circle around Earth.
Student Procedure
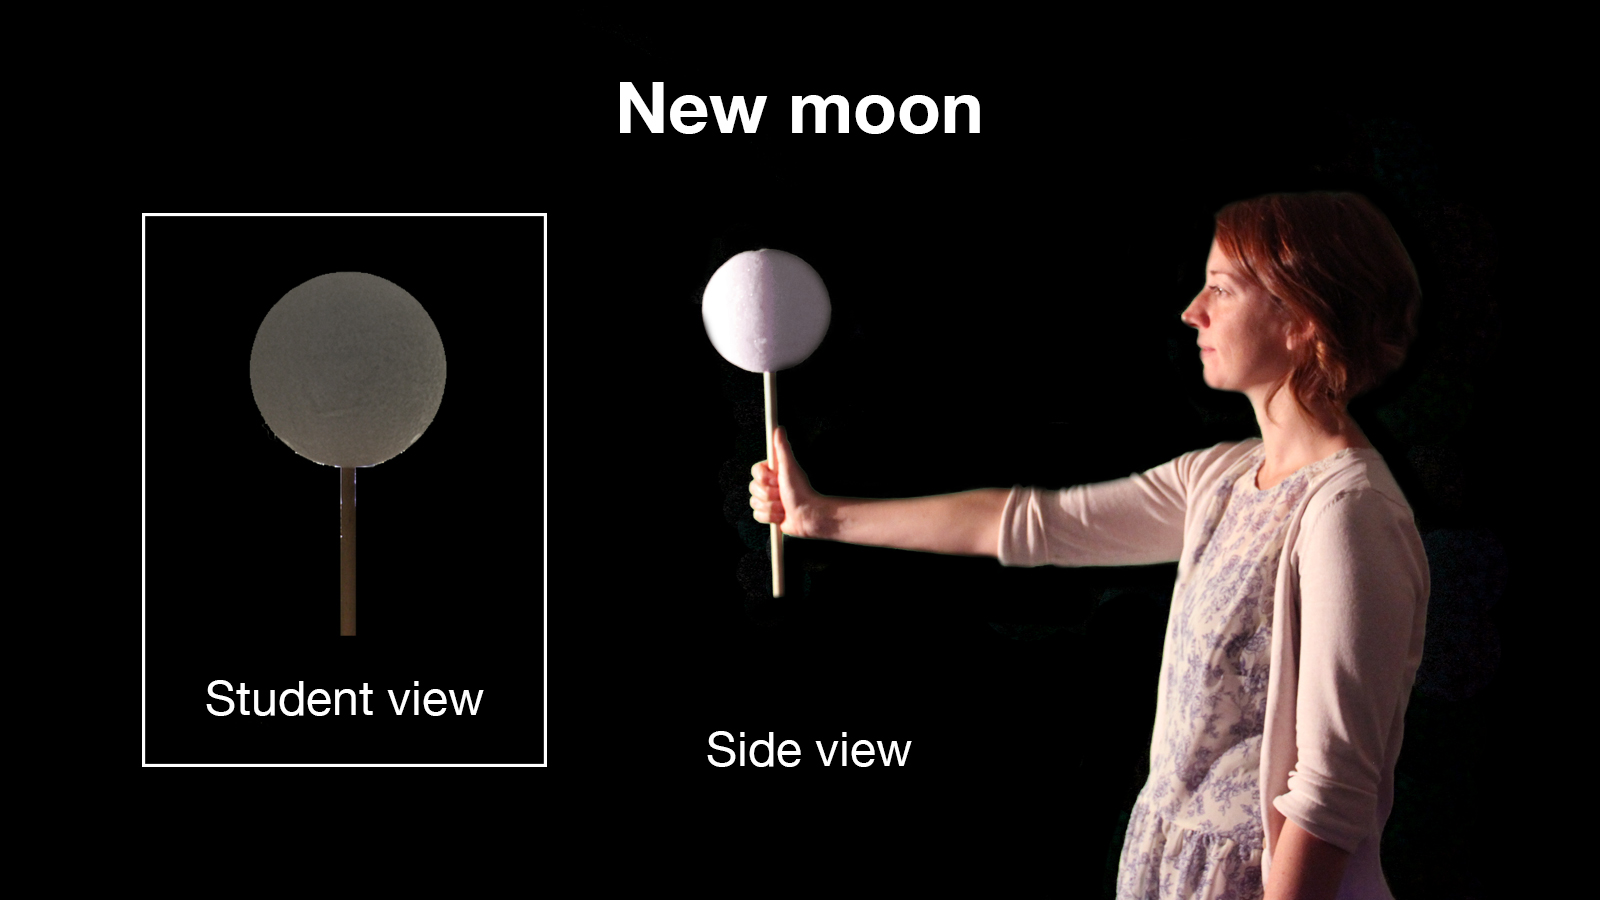
- New Moon:To begin, students should face the lamp and extend the sphere directly in front of them, raising the sphere enough so they can also see the lamp. This view simulates a new moon. As students look at their moon, they will see that the sunlight is shining on the far side, opposite their view of the moon. From Earth, the new moon is not seen. To simulate a solar eclipse, have students use the sphere to block the lamp.
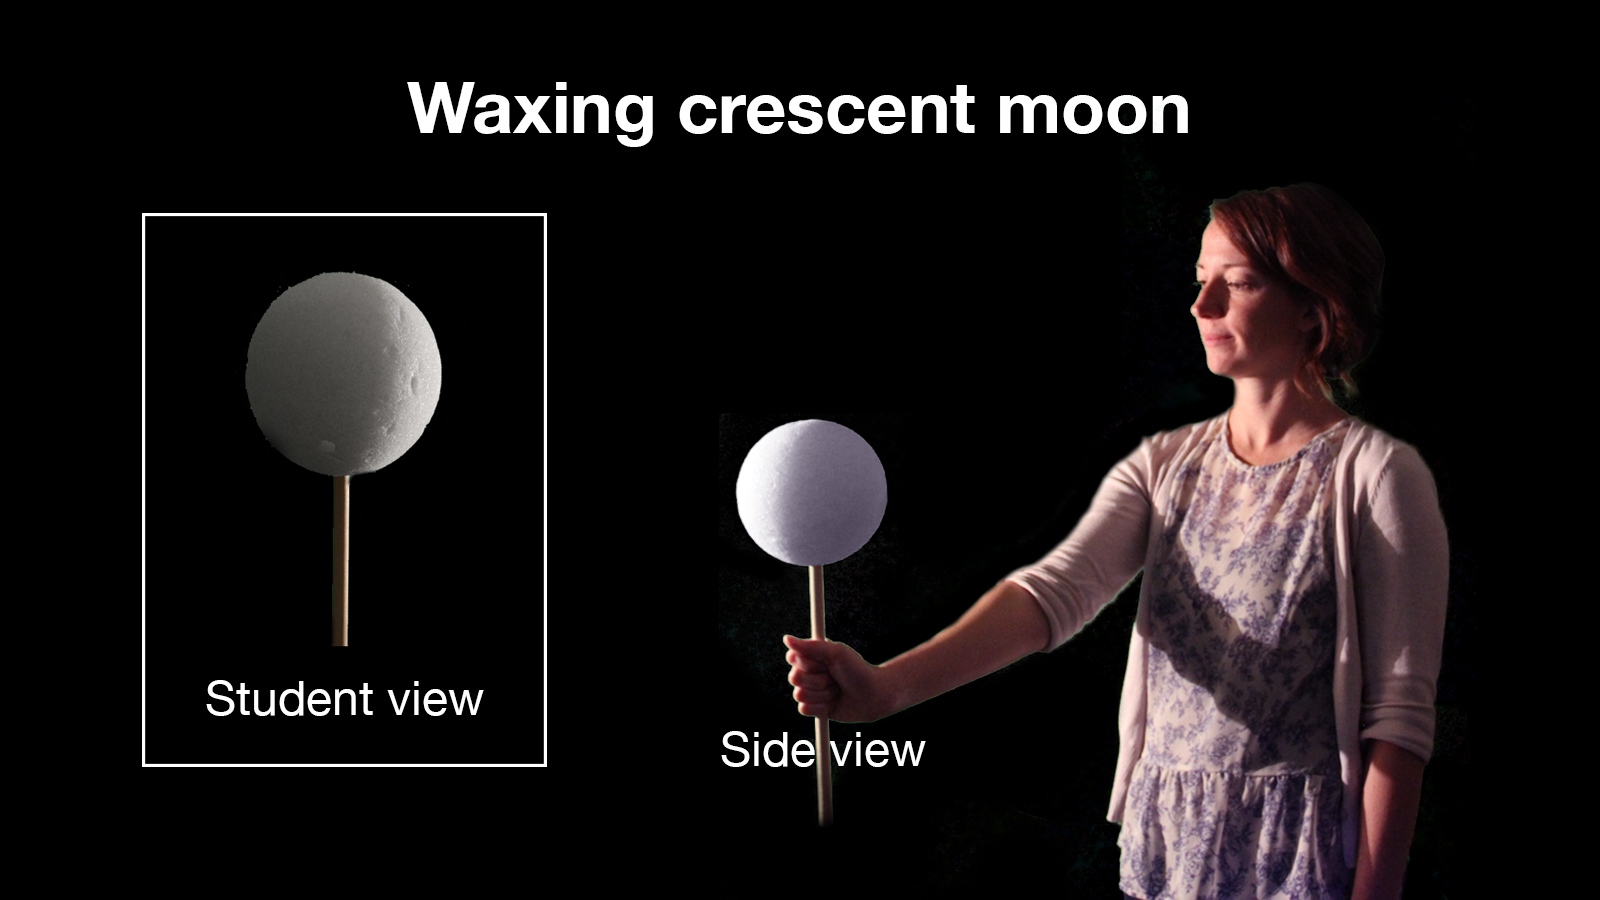
- Waxing Crescent Moon:Keeping their arm extended in front of their body, have students turn their body counterclockwise about 45 degrees. They should face their spheres and observe what they now see. They should see the right-hand edge of the sphere illuminated as a crescent. The crescent starts out very thin and fattens up as the moon moves farther away from the sun (as the student begins to turn in a circle). We say the moon is waxing because we are seeing more of its surface illuminated.
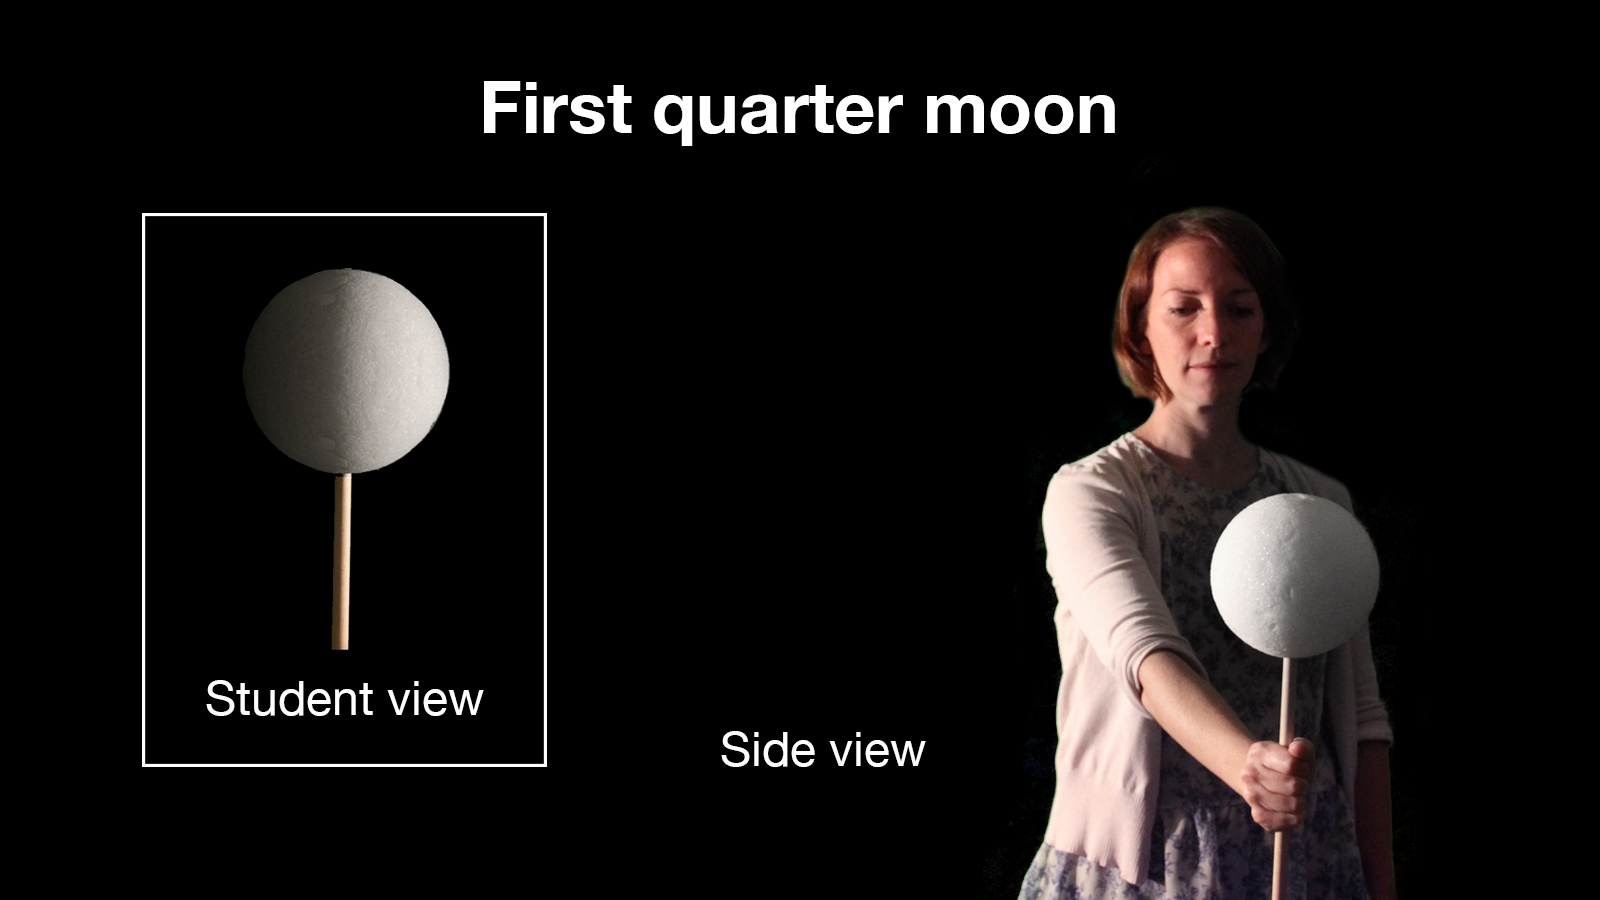
- First Quarter:Have students continue turning left so their moon and body are now 90 degrees to the left of their original position. The right half of the sphere should now be illuminated. This phase is called the first quarter.
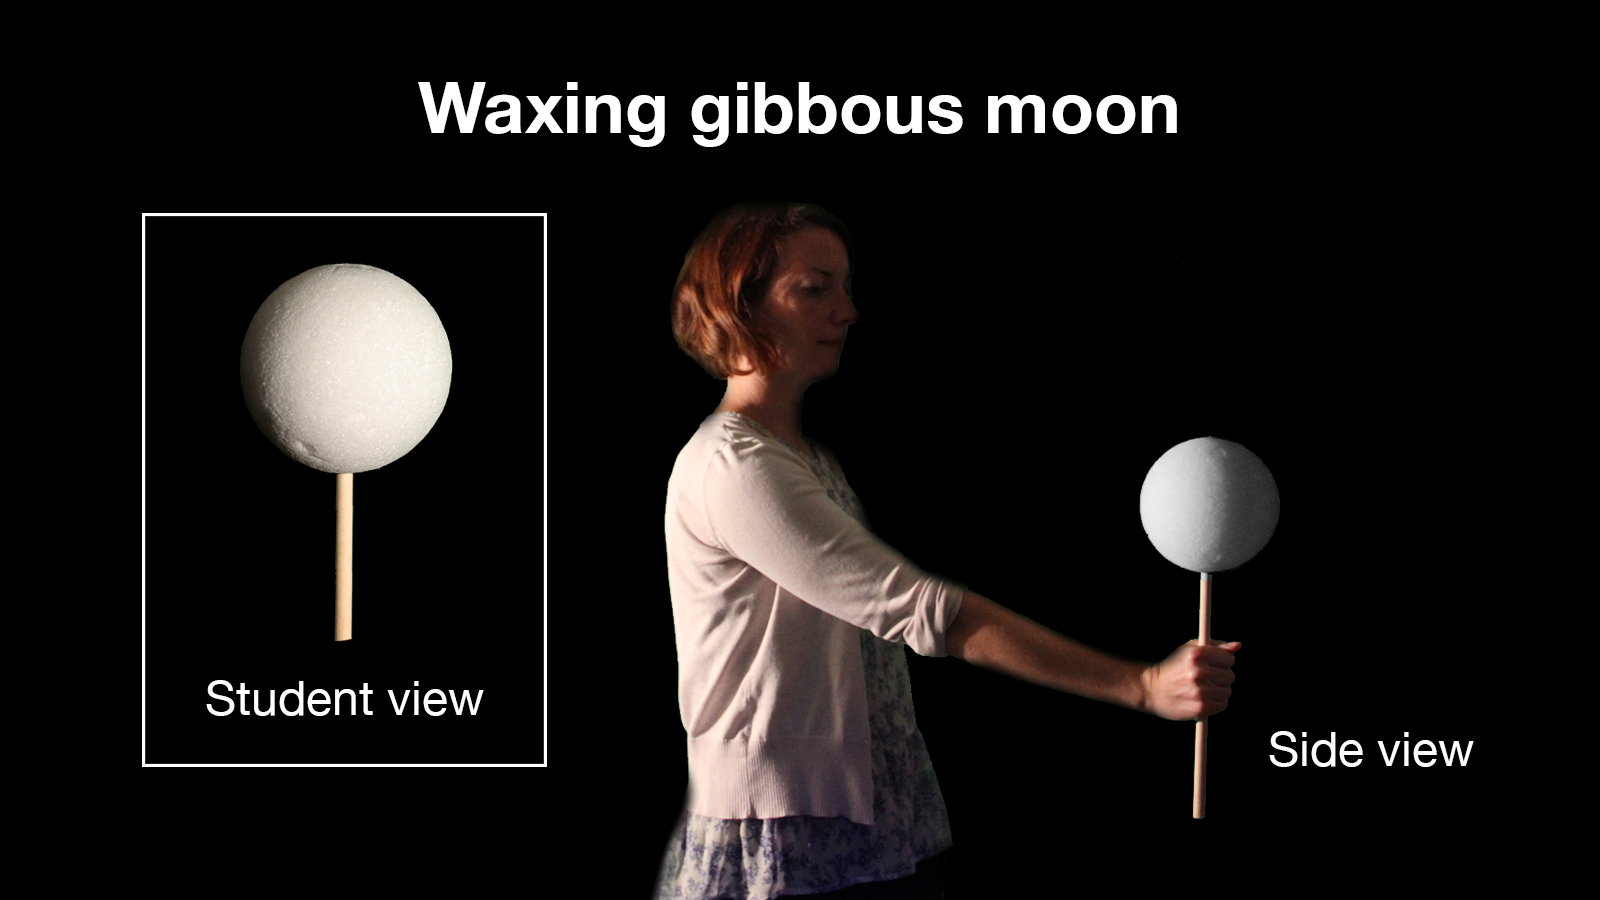
- Waxing Gibbous Moon: As students continue to turn, they see more and more illuminated surface.
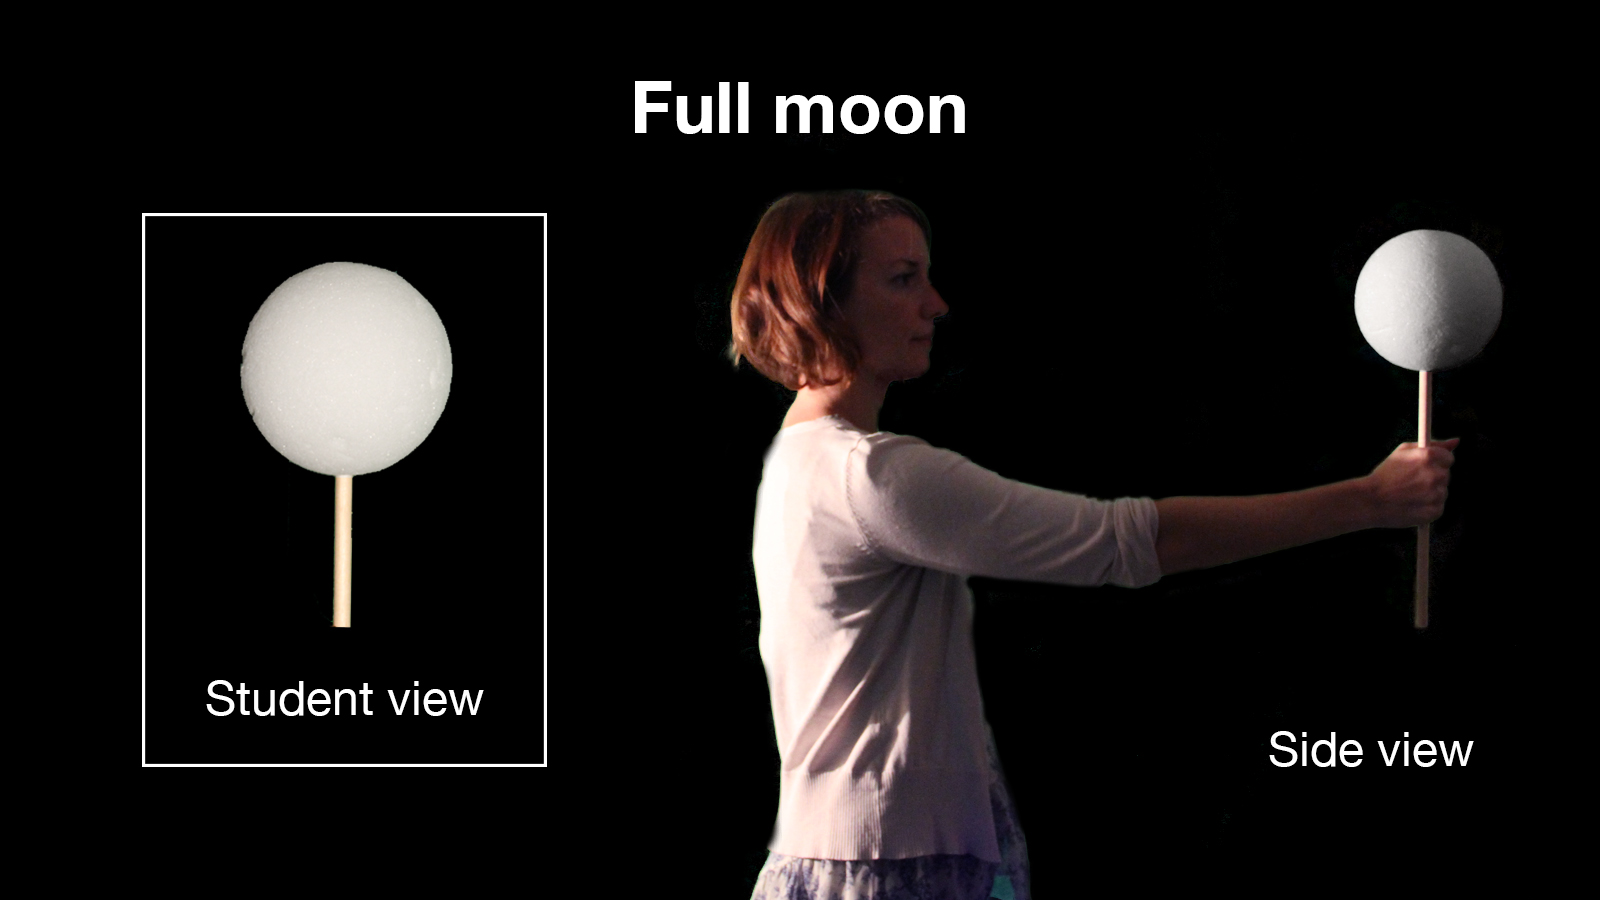
- Full Moon:When students move their moon so it is directly opposite the sun, as viewed from Earth (the student), the half seen from Earth is fully illuminated. (Make sure they hold their moon high enough so the "sunlight" is not blocked by their head.) To simulate a lunar eclipse, have students block the "sunlight" with their head.
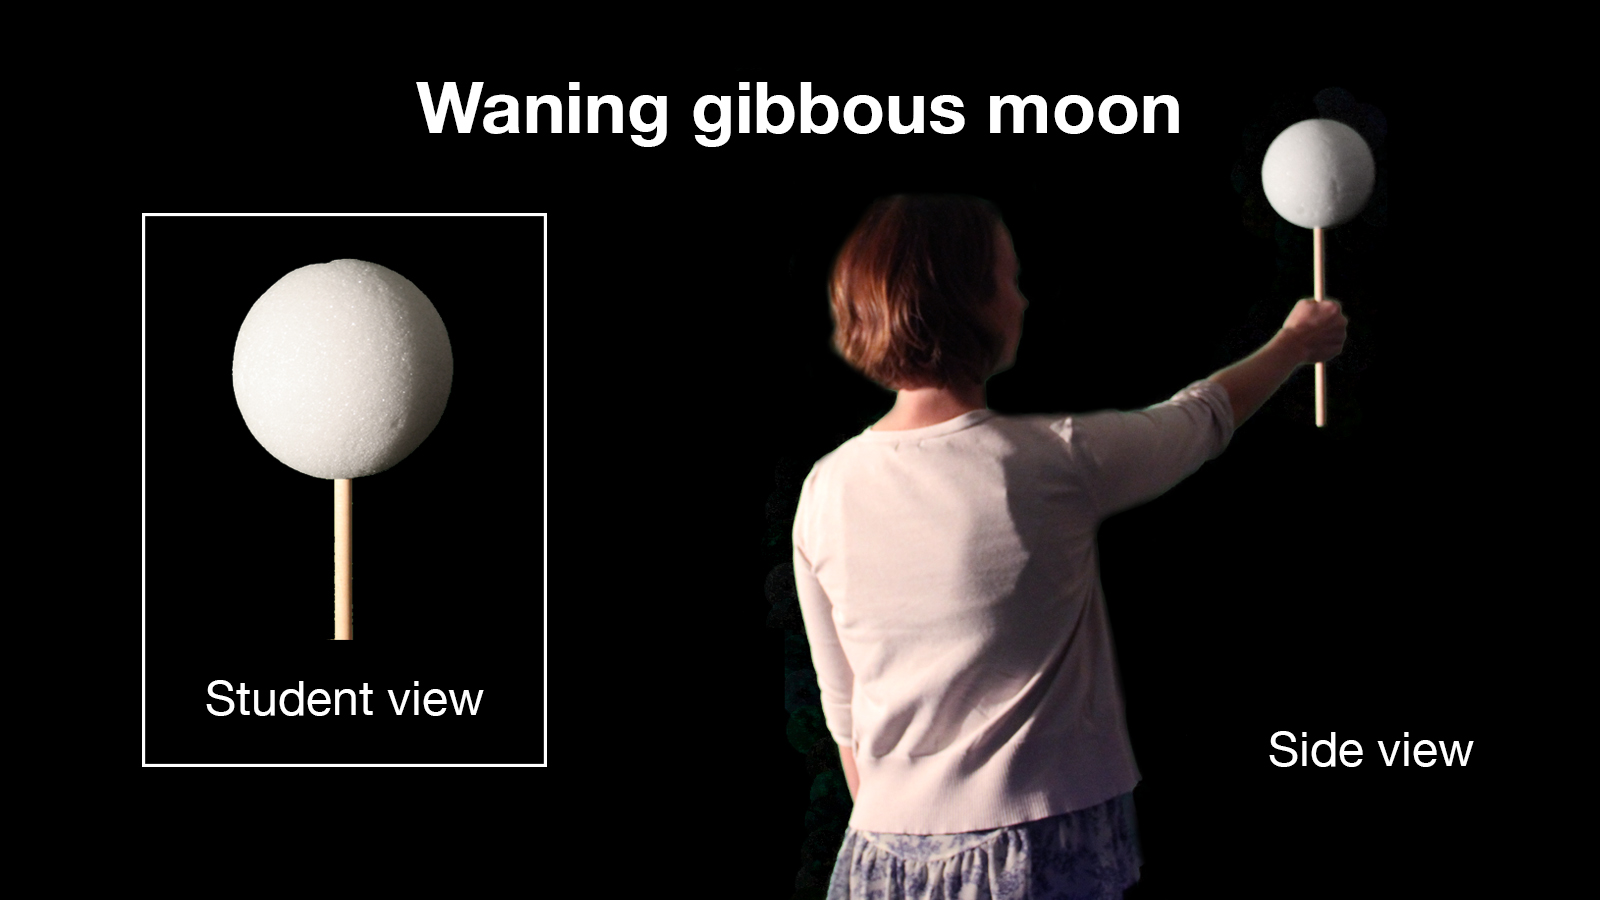
- Waning Gibbous Moon:As students continue to turn, they start to see less and less of the illuminated surface.
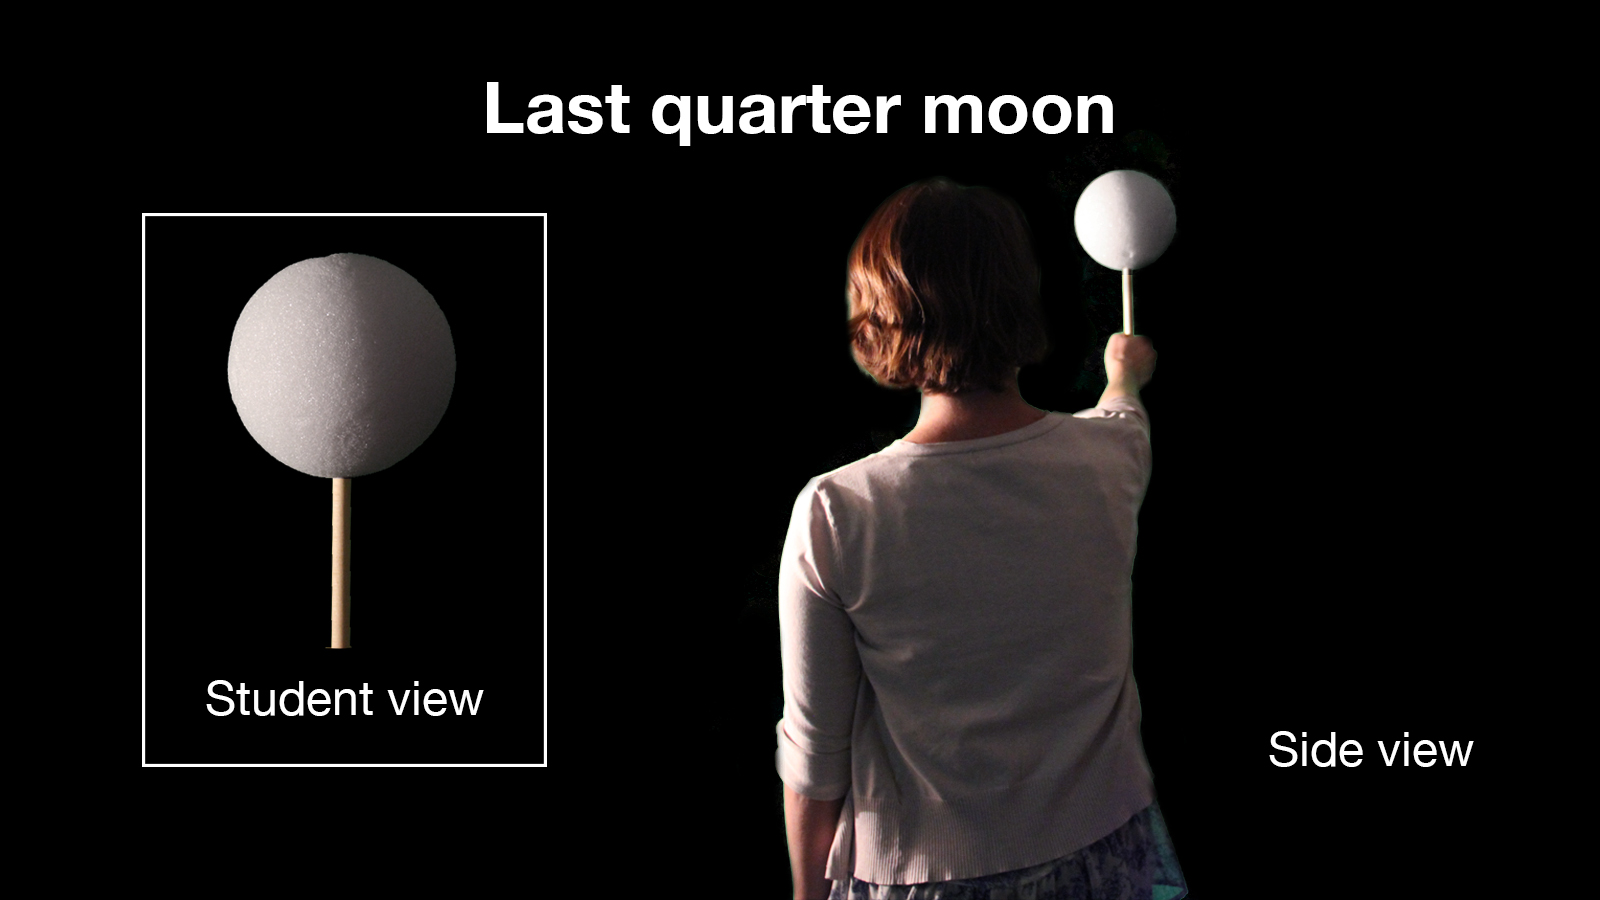
- Third or Last Quarter Moon: Keep students turning, with arms extended, so they are now three-quarters of the way around from their original position. This is the third, or last, quarter. They should observe that the opposite side from the first quarter moon is now illuminated.
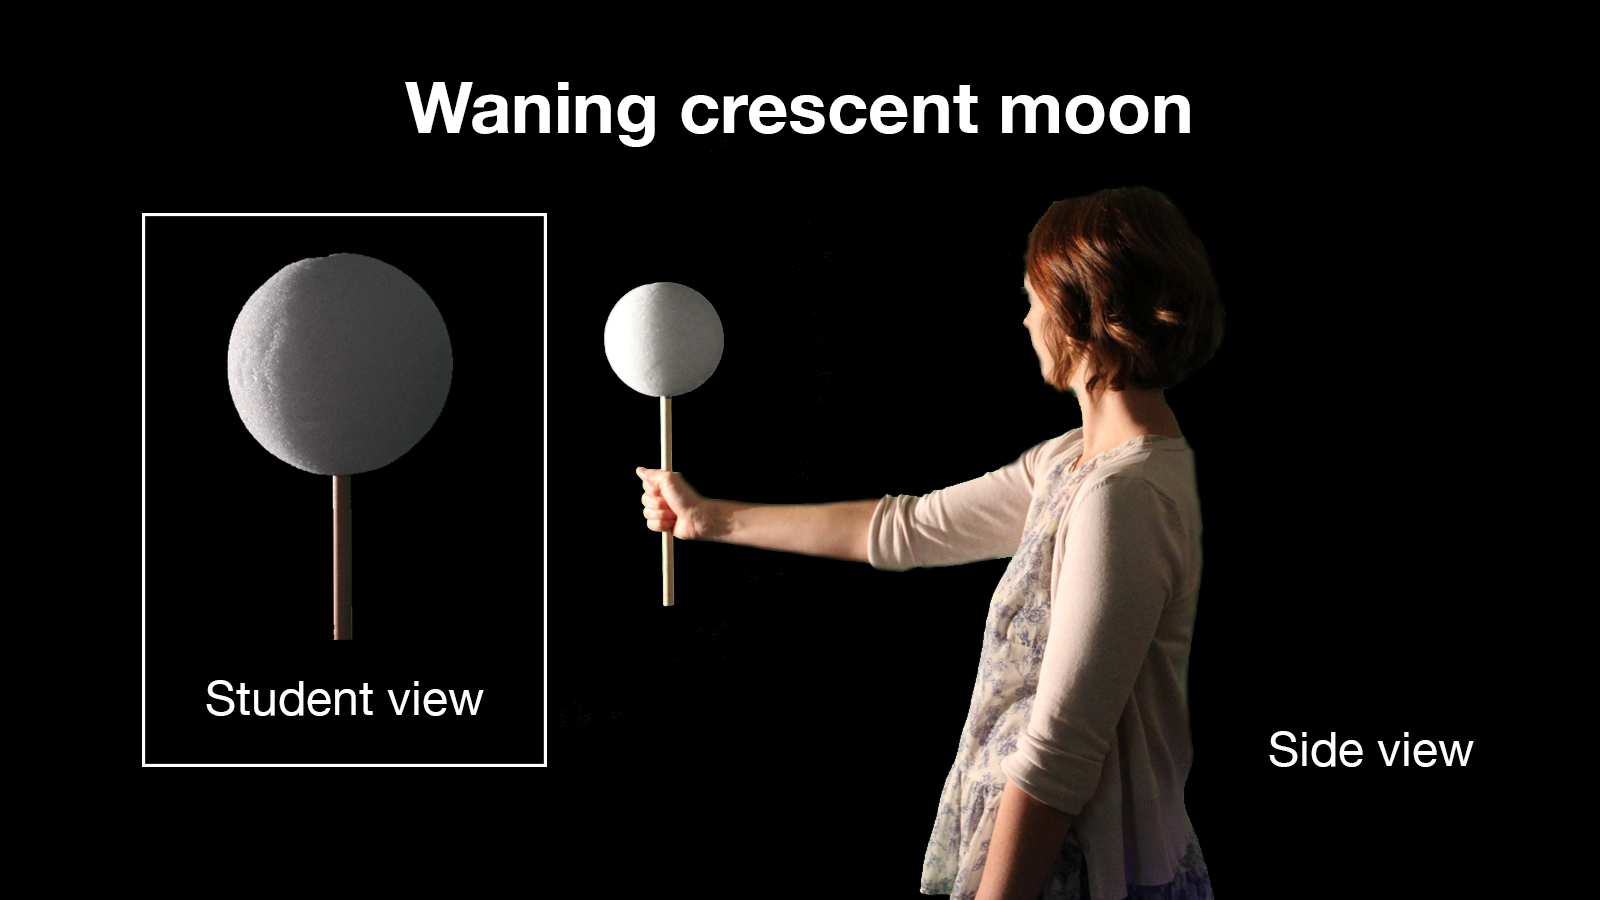
- Waning Crescent Moon: Now the illuminated surface of the moon is growing smaller and smaller, bringing it back to a new moon.
- Return to New Moon: The continued counterclockwise movement brings a thinning crescent and finally a return to a new moon.

Extensions
- Project: How to Make a Pinhole Camera
- NASA Eclipse 2017 website
Source: https://www.jpl.nasa.gov/edu/teach/activity/moon-phases/
0 Response to "Lunar Cycle Easy Demonstration of Lunar Cycle"
Post a Comment